Foiling with a Stencil | A Christmas Card with Ashley
Hey everyone, it's Ashley here on the blog today! I have a few fun techniques for you to try out today.

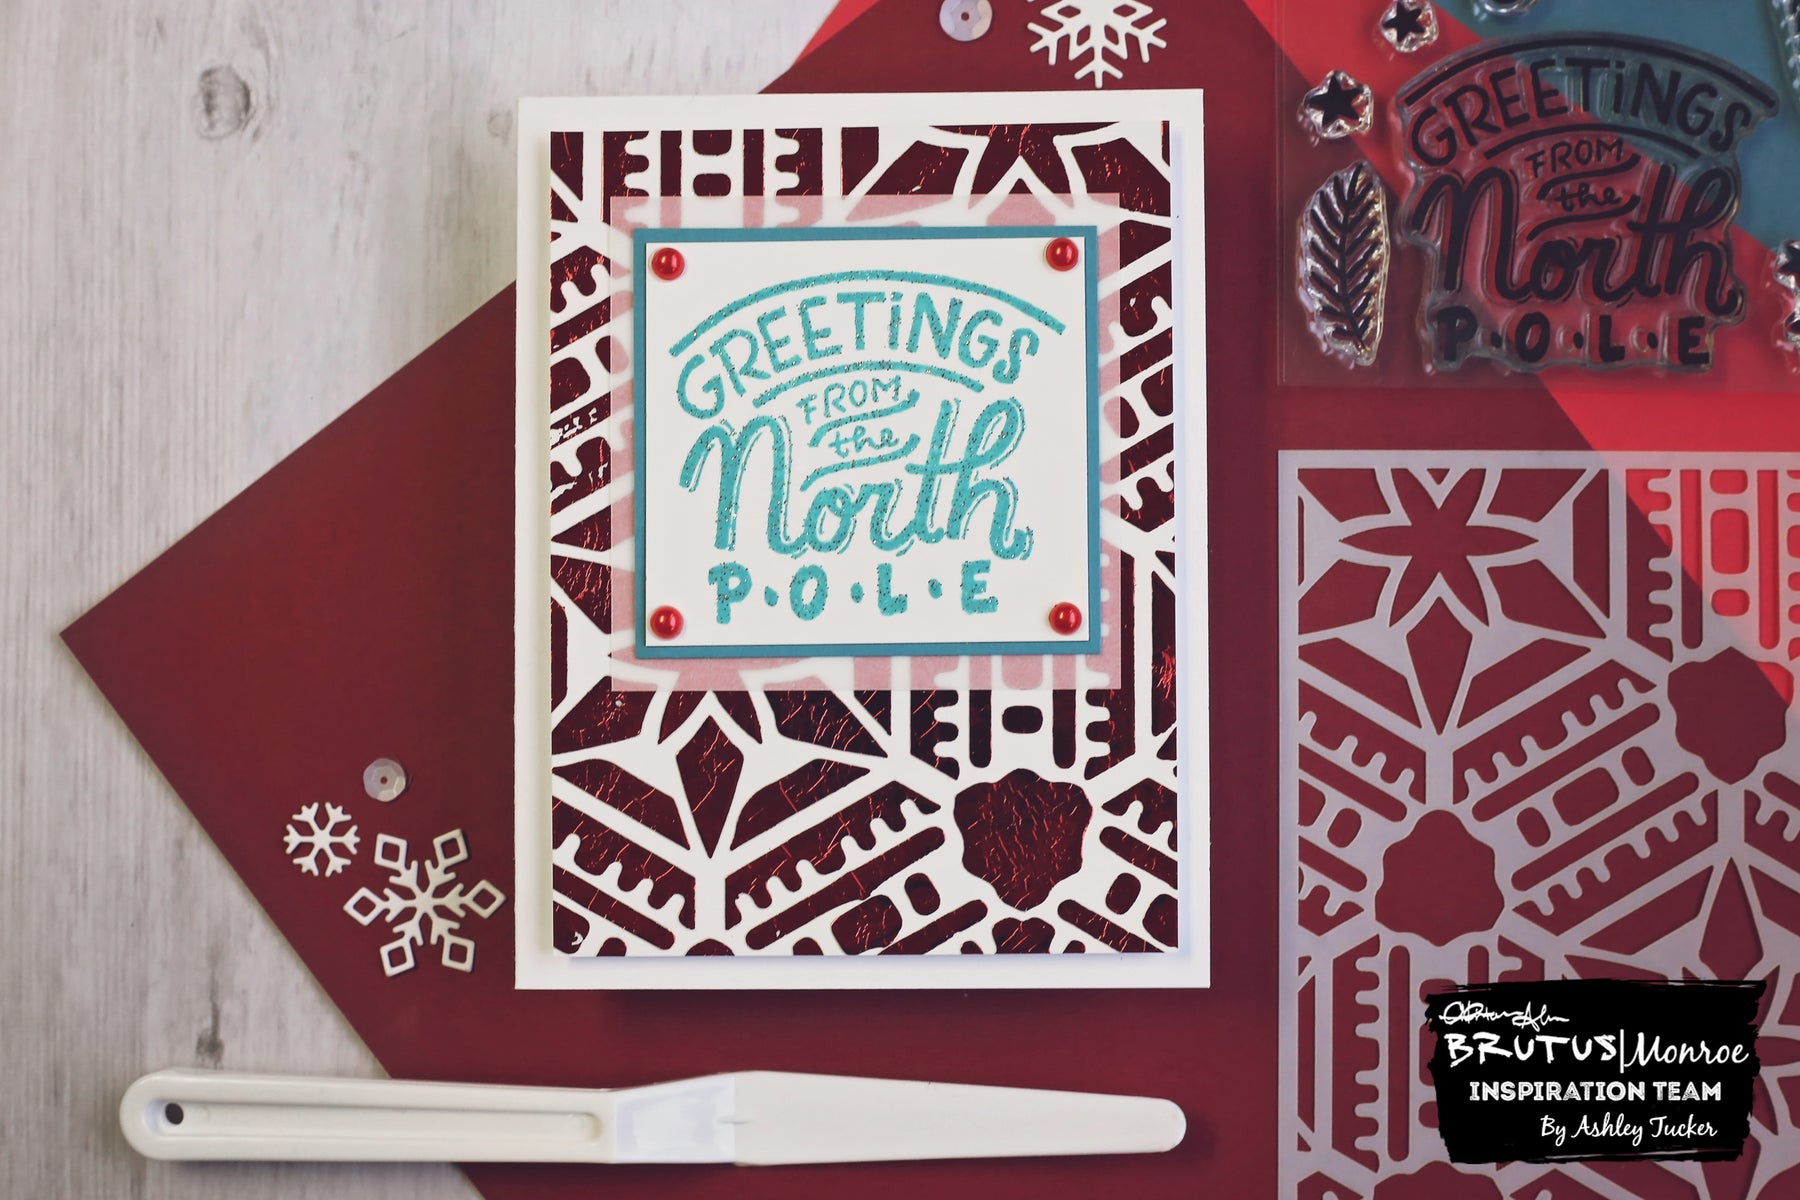
The first technique is foiling with a stencil. This was actually my very first time using a laminator to do my foiling and I love the results! I started out with a piece of white cardstock taped down to a board. Next I placed the kaleidoscope stencil over the cardstock and taped it down along the edges. Using a palette knife, I spread Deco Foil Transfer Gel across the stencil. I made sure to spread it out so that it was nice and smooth, completely filling in the stencil openings. I removed the stencil from the cardstock revealing the beautiful design. I made sure to clean off my stencil and palette knife right away with warm water. I let the transfer gel dry for an hour before moving on.

Once the transfer gel was dry (it turns clear when it is dry) it was time to foil! I plugged in my laminator and turned it on to let it start heating up. In order to create a laminating sandwich I first took a large piece of cardstock and folded it in half. I placed my stenciled panel inside the folded cardstock. Next I picked out a piece of red foil and placed it on top of the stenciled panel. So my foil and stenciled panel were nice and sandwiched between the folded cardstock. I ran the whole thing through the laminator, folded edge first. Next the magic happens! When you remove the foiled piece from the stenciled piece the foil sticks to the transfer gel leaving you with a gorgeous foiled design.

The next technique that I wanted to share is embossing with pigment ink. For the sentiment on my card I wanted to do something special. So I stamped a sentiment from the Jingle All The Way stamp set onto some white cardstock with a light blue pigment ink. The great thing about pigment inks is they take a long time to dry, so if you are quick you can emboss on them! I sprinkled some Rainbow Sparkle embossing powder on the sentiment and heat set it with my heat tool. The Rainbow Sparkle embossing powder is clear with colorful sparkles, so the sentiment still has the blue color but now it is shiny and sparkly!

To finish up my card I took the foiled panel and popped it up onto an A2 size card base with foam tape. Next I mounted my sentiment on a piece of blue cardstock and then mounted that on some vellum, so I have two different borders around the sentiment. I glued the sentiment square onto my foiled background. The last thing that I did was glue four red half pearls to the corners of the sentiment's cardstock. I like that this kind of makes it look like a sign that has been tacked onto the background.
Thank you for stopping by with me today! I hope you enjoyed this fun Christmas card! Have you ever worked with foil before? What is your favorite foiling technique? Let me know in the comments!
If you are interested in creating a project similar to this I have included some affiliate links to the products I used throughout the post.
I hope you have an amazing day!
- Ashley Tucker

Comments
Leave a comment