


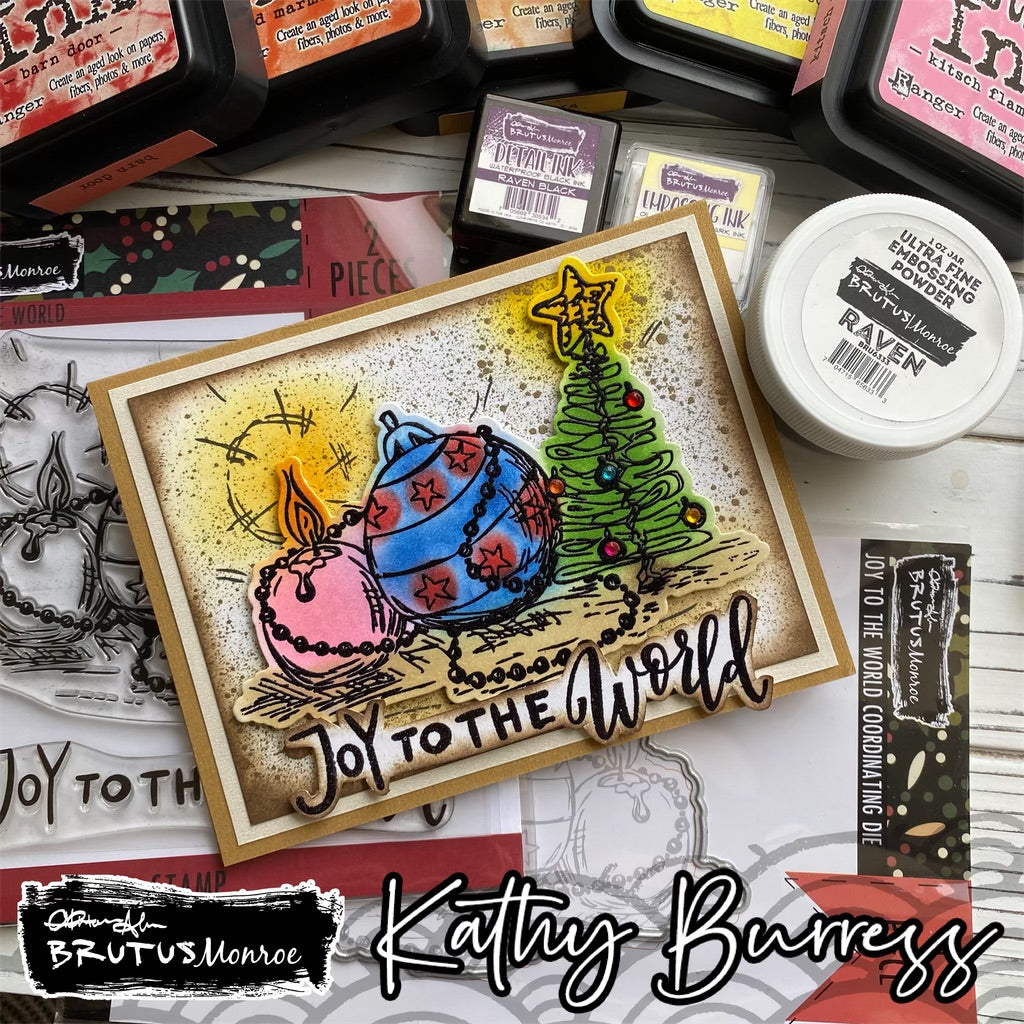
Joy to the World
Hello everyone! Kathy here today, getting ready for Christmas with a fun card from the new Joy to the World stamp set with coordinating die. Here are the supplies you will need:
- Raven detail ink
- Embossing ink
- Raven Ultra Fine Detail embossing powder
- Anti-static powder
- Distress ink in a variety of colors
- Blending brushes and detail tools
- Foam squares
- Mica or glimmer mist
- Heat tool for embossing
- Small jewel or pearl embellishments
To get started, prepare your card base and layers:
- A2 base – 8½ x 5½ (gold) – scored at 4¼
- Framing layer – 4 x 5¼ (cream)
- Card front shadow layer – 3¾ x 5 (white)
- (2) White panels for embossing – 4¼ x 5½
Prep one of the white panels with anti-static powder and place in the stamping platform. Generously apply embossing ink and stamp your embossing card front. Cover with embossing powder, tap off excess and use heat tool to emboss.


Clean the stamp and apply the Raven detail ink. Using a scrap piece of paper, stamp off one image, which will be used to align the card front shadow layer. Place the shadow layer over the stamped image, centering from side to side and placing the star at the upper edge. Stamp the image in black on the shadow layer.


Prepare your second white panel with anti-static powder, stamp the sentiment with embossing ink, apply the embossing powder and emboss with the heat tool. I usually stamp one or two extra, just in case…

Starting with the tree, use a blending brush or detail tool and color the tree with green ink and the trunk with brown. Color the rest of the image, being sure to add color on the shadow layer for the start and candle. Don’t worry about staying in the lines, you are going for a watercolor/abstract look.


After adding ink to the bottom of the image, use the die as a guide to be sure you have the area covered. Tape the die in place and run through your die cutting machine.
Using a dark brown ink, add a border to your shadow layer and then give it a spritz of mica or glimmer spray. Mine ended up a little heavy in the middle but remember most of the shadow image will be covered by your inked image.

Time to fussy cut the sentiment… I typically draw a cutting line in pencil to help keep my cutting as neat as possible. After cutting use an eraser to remove any stray pencil marks. Ink the edges like the shadow layer.


Adhere the cream panel to the card base and add the shadow layer. Use foam tape on the inked image and sentiment to pop them off the card front. Finally, add a few jewel or pearl “ornaments” to the tree.

Happy Holidays!
Leave a comment