Create a Scene | One-Layer Card With Lots of Masking!
I know, it may seem too early to begin the Christmas posts, but when you make all your own Christmas cards by hand to send to friends and family you have to start early! I was so excited to get my hands on this fun stamp set because I can picture a few people I'd like to send this card to.
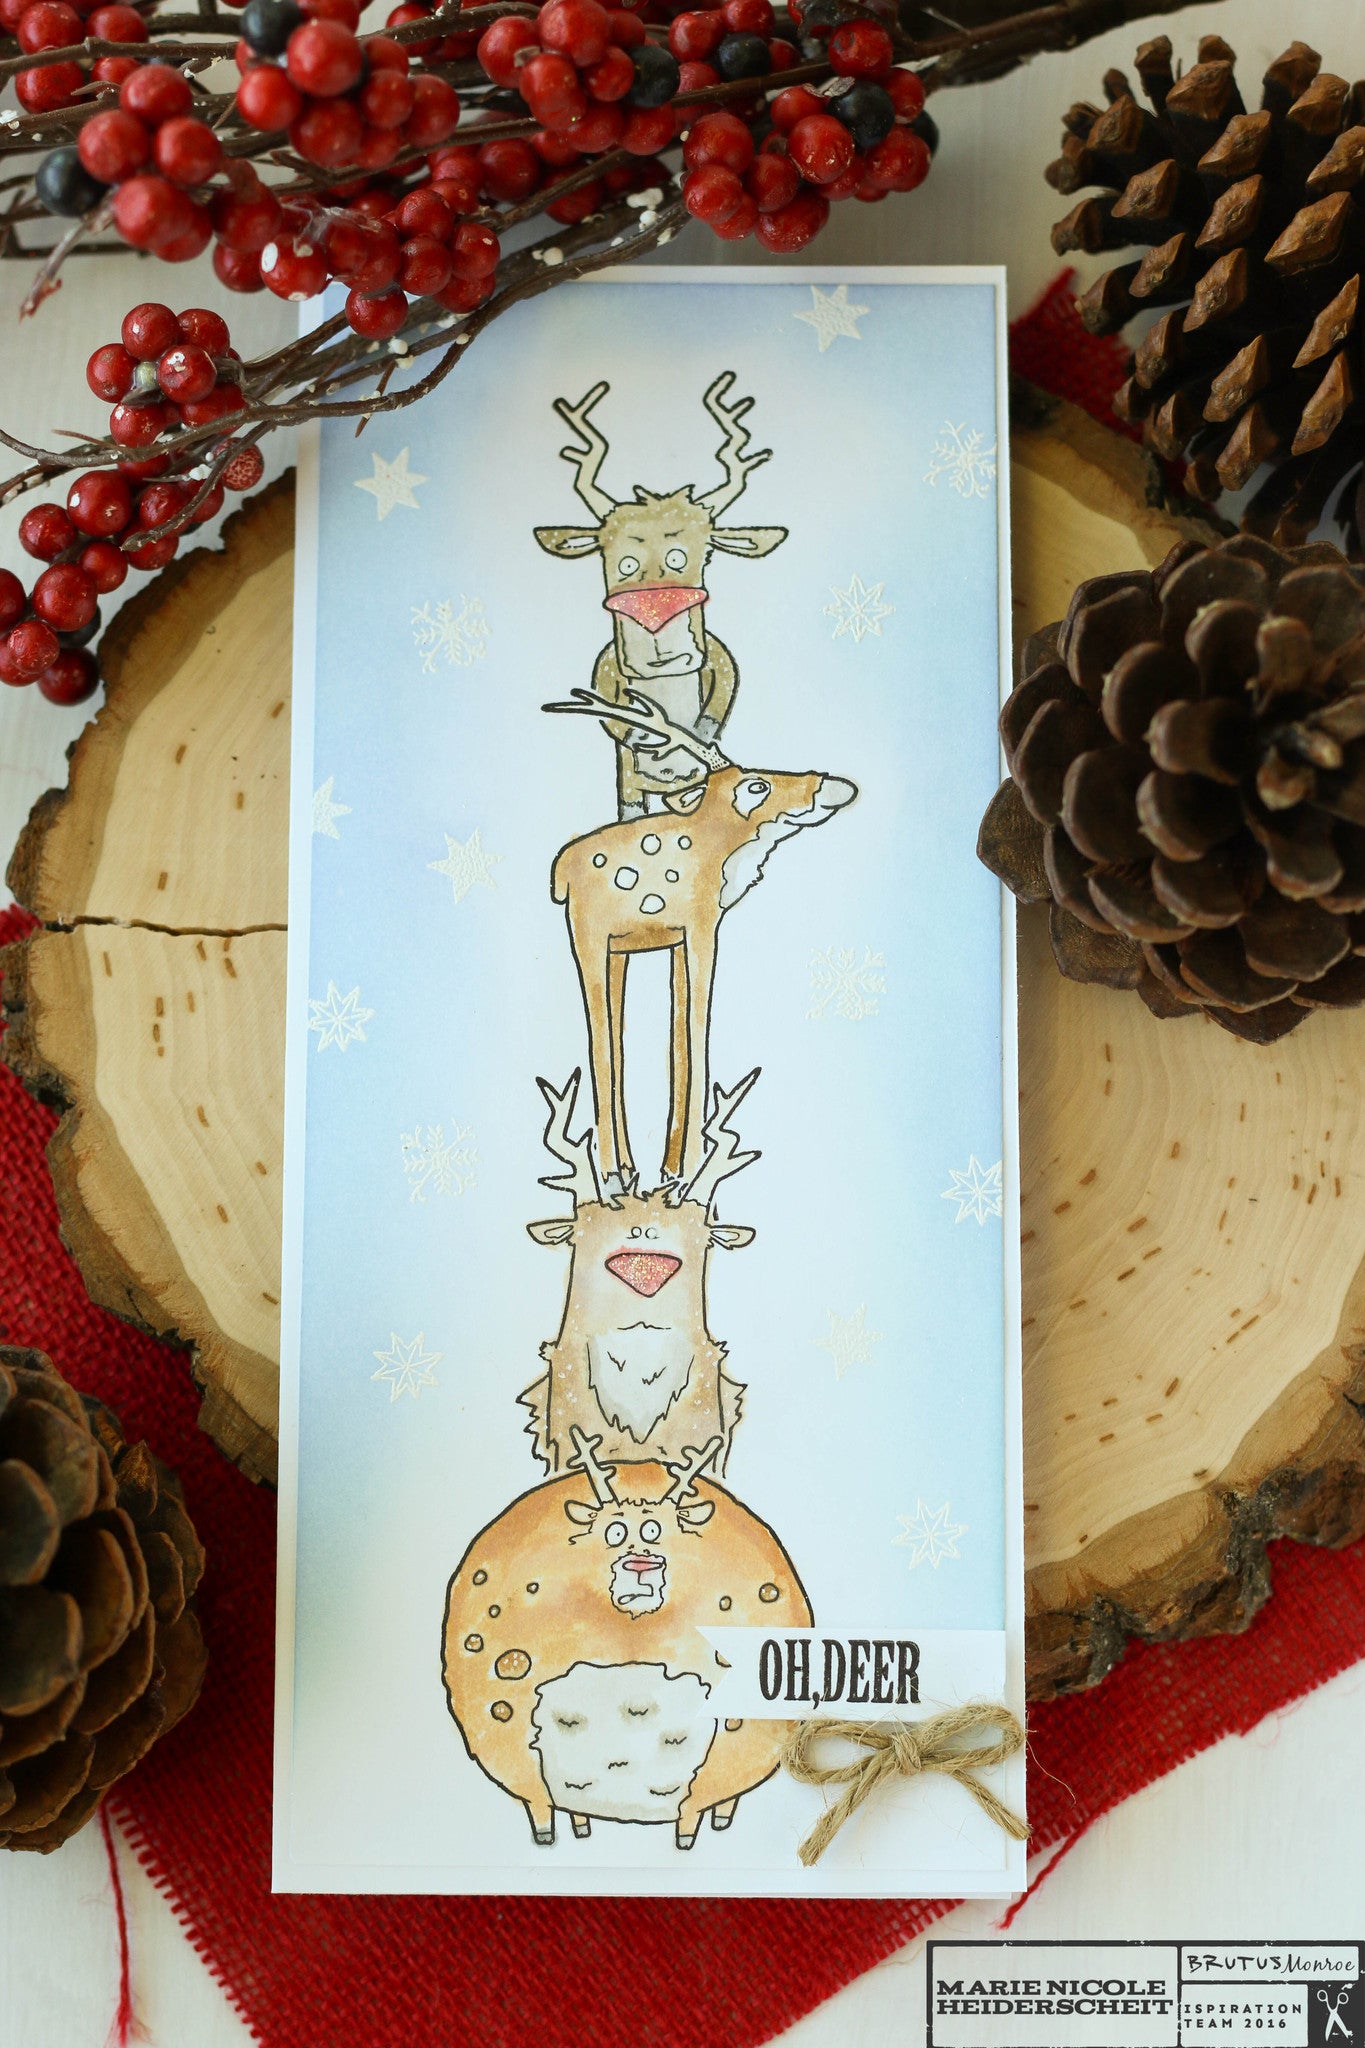
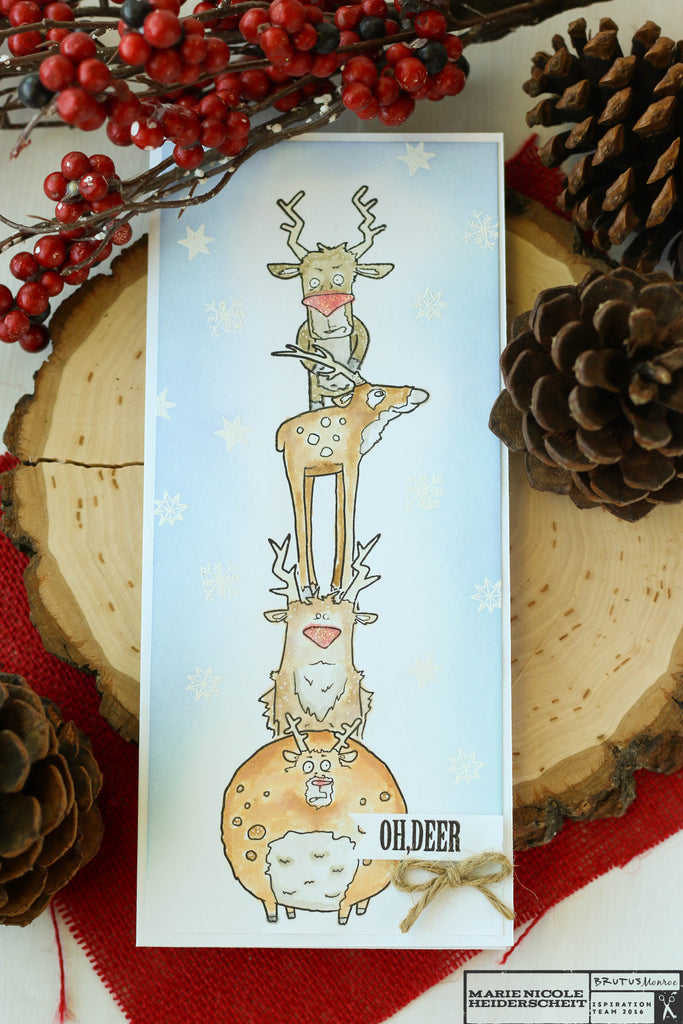
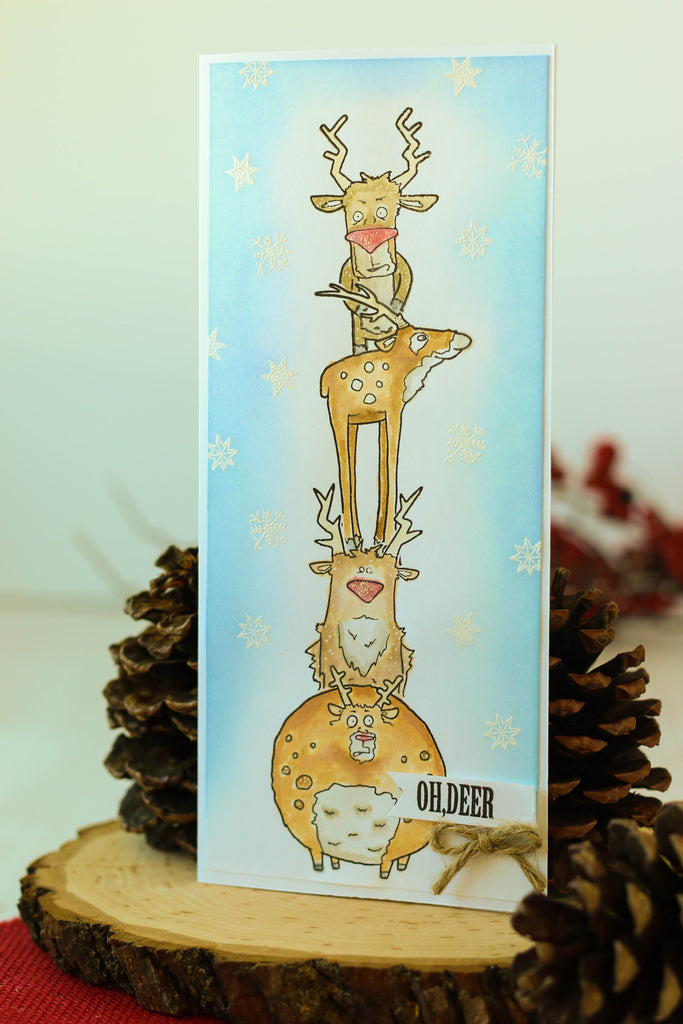
I wanted to get all of these reindeer onto one card because each one has so much personality I couldn't choose my favorite! I decided to go with a long and skinny card, and to attempt some masking in order to stack these reindeer up on each other.

I started out by taking a piece of white cardstock and cutting it down to 4" by 9". Then, I stamped the fat reindeer on the bottom. He looked like he could hold the weight of his three friends!
After I had the first reindeer stamped, I stamped that same reindeer on a piece of plain printer paper and then fussy cut it out. This created my "mask". If you dont have masking paper handy, just use any thin paper you have on hand. Thinner is better when it comes to masking so you can still get a crisp image when stamping over the masking paper.
I applied my mask over the large reindeer using some removable adhesive. This adhesive is low-tack, so it will hold my mask in place while not permanently sticking to my scene. After my mask was applied over my bottom reindeer, I took the next reindeer and stamped him on the fat one's back. Once he was stamped, I removed the mask and voila! A perfect stamped image. I repeated this method for all the reindeer until they were all stamped on top of each other.

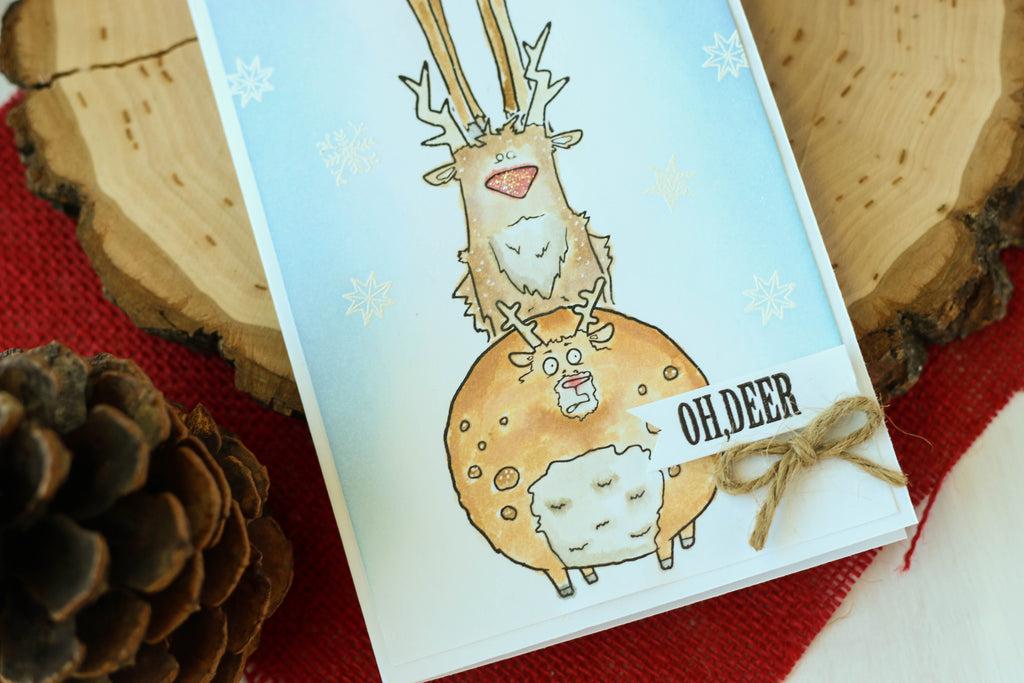
With my reindeer stamped, I moved on to coloring them. I used a variety of brown tones from my Distress Inks to color in these characters. Then, I used some red for their noses. Finally, I took my white gel pen and added some speckles here and there on their fur and whitened their eyes.

My next step for creating this fun scene was to emboss some snowflakes in white. I took some of the snowflake stamps from the set and stamped them around the reindeer and embossed them. I know they are kind of hard to see in the photos, but in person they really stand out! It creates a fun snowy backdrop for our reindeer.
Finally, I took some blue Distress Ink and inked around the edges of the scene. Then I took the whole 4x9 panel and adhered it down to a card base that was also 4x9. You can see I trimmed a little off of the edges of the scene so there would be a nice white border around it after applying it to the card base.

For the sentiment I stamped the "Oh, Deer" onto a strip of paper, cut it out, and glued it down with some foam adhesive. I really wanted to let the scene itself stand out so I kept the sentiment and the little twine bow embellishment very simple.
So that completes the card! With it being a one layered card, it may look like it would be simple and quick to create, but all the masking and coloring took me longer than my usual cards do! I think the end result is worth it, though!
Hope that gives you some ideas and inspiration! I put together the process video below if you want to see in detail how I managed all the masking.
Remember that your crafting is always what you make it and that you can "Create Your Own Ending"!!!
If you want to see more of my work, visit me on any of my social media channels:
Blog
Until next week,
Marie Nicole

Comments
Leave a comment