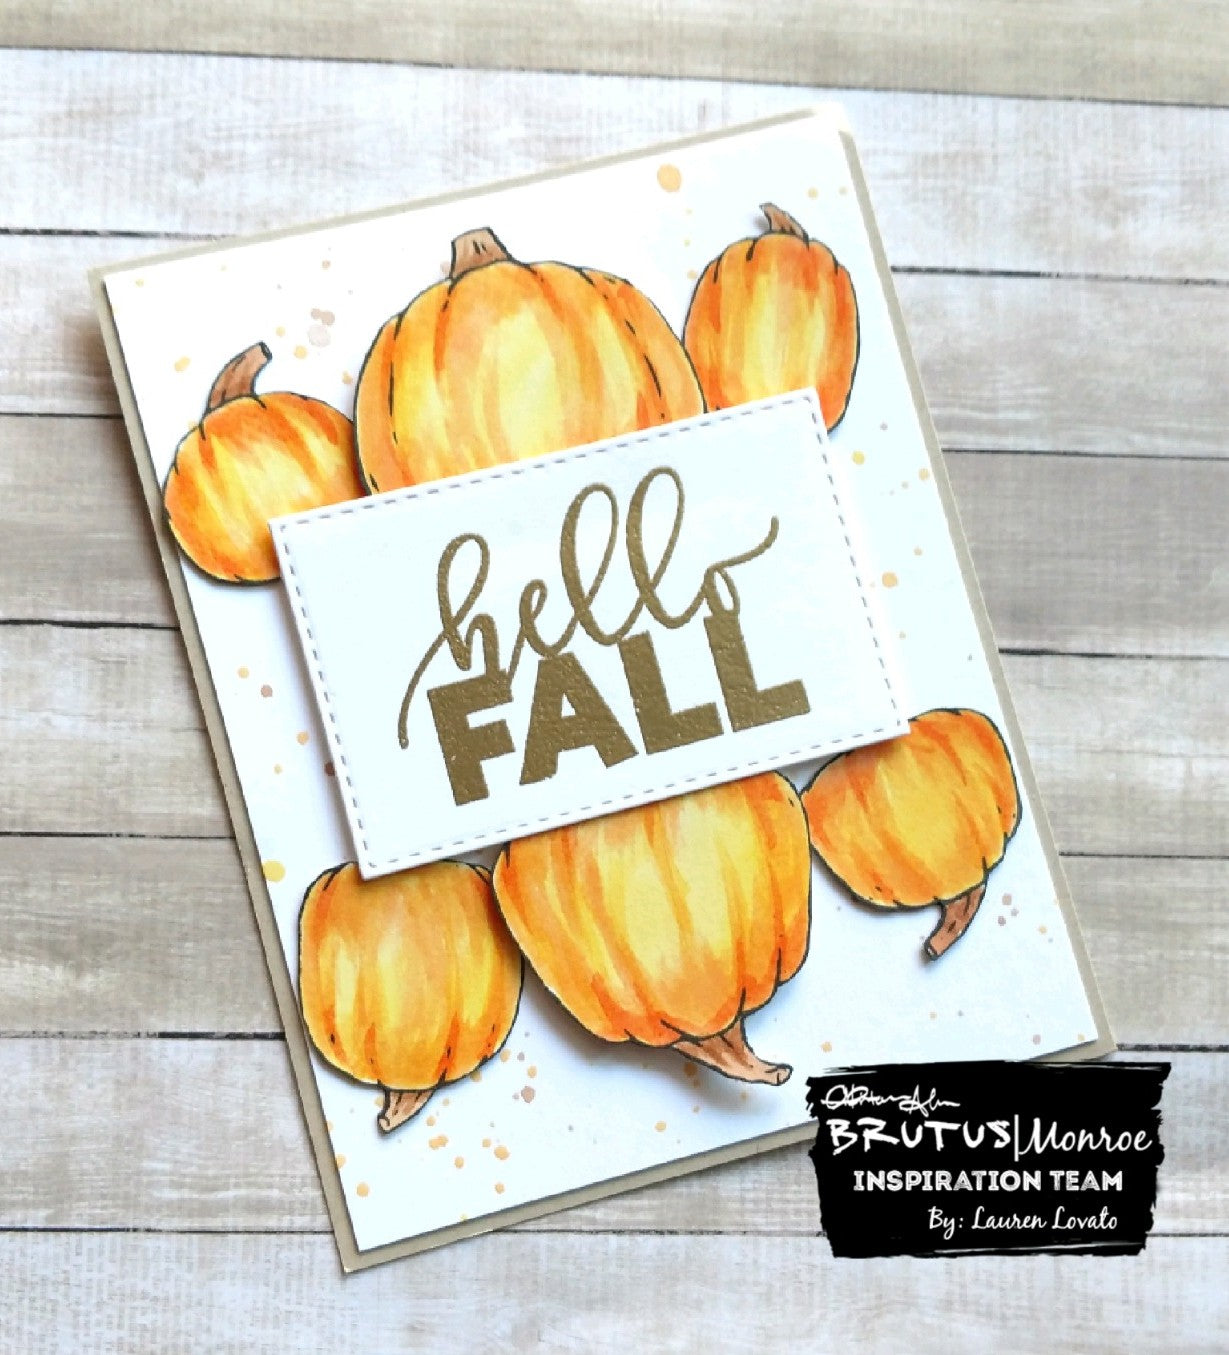
Aqua Pigment Pumpkins
Hello crafty friends! Today I'm sharing a card using the "Pumpkin Faces" stamp set and aqua pigments.

I stamped all the pumpkins onto aqua pigment paper using Raven detail ink. I started painting by dropping some yellow aqua pigment onto my glass mat, and filling in all the pumpkins. Then I added one drop of pink aqua pigment to make a light orange color. I followed the outline of the pumpkins and the marks in the stamp for the ridges and filled in a lot of the pumpkin, but leaving some plain yellow open towards the middle. Then I added another drop of pink to the pigment to make a slightly darker orange color, and began building up darker oranges near the stamp markings. I repeated this process of adding a little bit of pink about 4 times, each time leaving some of the exposed lighter layers towards the middle. For the very darkest shade around the edges, I used a drop of red aqua pigment in the mix to make a brighter orange. I mixed the yellow and red and blue to make a light brown shade for the pumpkin stems. I set the pumpkins aside to dry, and cut a piece of Alabaster cardstock for the card front. I mixed some more orange from the pink and yellow aqua pigments, and flicked it lightly over the card front, as well as the brown color I had mixed for the stems. I heat embossed "Hello Fall" with Gilded embossing powder and die cut the rectangular piece. I popped up the sentiment with foam tape in the middle of the card front, and arranged the pumpkins sticking out from under it. The last step was adhering the side pumpkins down flat and popping the middle ones up with foam tape.

This set is so versatile because you can use the faces to make a more Halloween-style card, or use the pumpkins by themselves for a more elegant fall vibe. I hope you share your pumpkin creations, and don't forget to use the hashtags #BrutusMonroe and #CreateYourOwnEnding!

Leave a comment