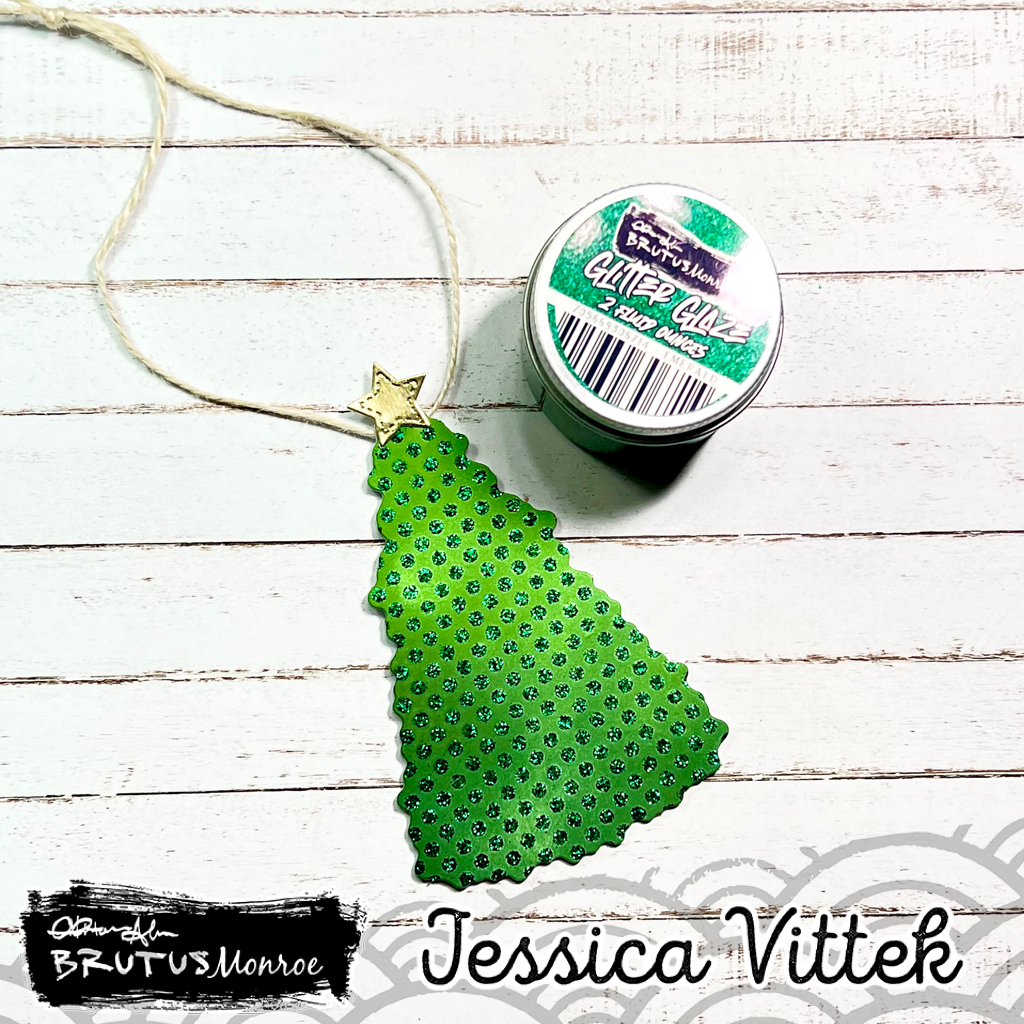
Glitter Glazed and Shaped Folded Tag!
I love playing with glitter glaze and it makes such a cool background when using glitter glaze over ink blending! Today, I am sharing a shaped, folded tag with you that I glittered up with some glitter glaze!

I used the new Circles stencil over my ink blended background today. These Stencil Staples are a great addition to your stash and they can be used on any occasion card!
For this first part of the project, I used an A2 panel of the Perfect Blend cardstock, theCircles stencil, and Emerald Glitter Glaze.

You can use any ink that you like to blend with, I used two different shades of green and used my blender brushes to blend this background. The beauty of this technique is that you don't need a smooth and perfect blend!

This is where we get to add the Emerald Glitter Glaze! This is such a gorgeous color, especially for the holidays!


We need to set that aside and let it dry really well, because we are going to be die cutting that piece with the tree from Santa's Visit Coordinating Dies.


We will use the tree die again to make a shaped folded tag. To do this, I used a top folding A2 card base.

I folded it at the score line and placed the top of the tree just above the score line and then put this through my die cutting machine. This allows the score line to stay in place and the very top of the tree won't cut.

This makes a cool, shaped folded tag or mini card!

Then, we can adhere our green glittery tree front onto the front of the shaped folded tag. How cute is that?!


To finish the tag, I put a gold star on top and added some twine so it can be attached to a present or even onto a tree.


Leave a comment