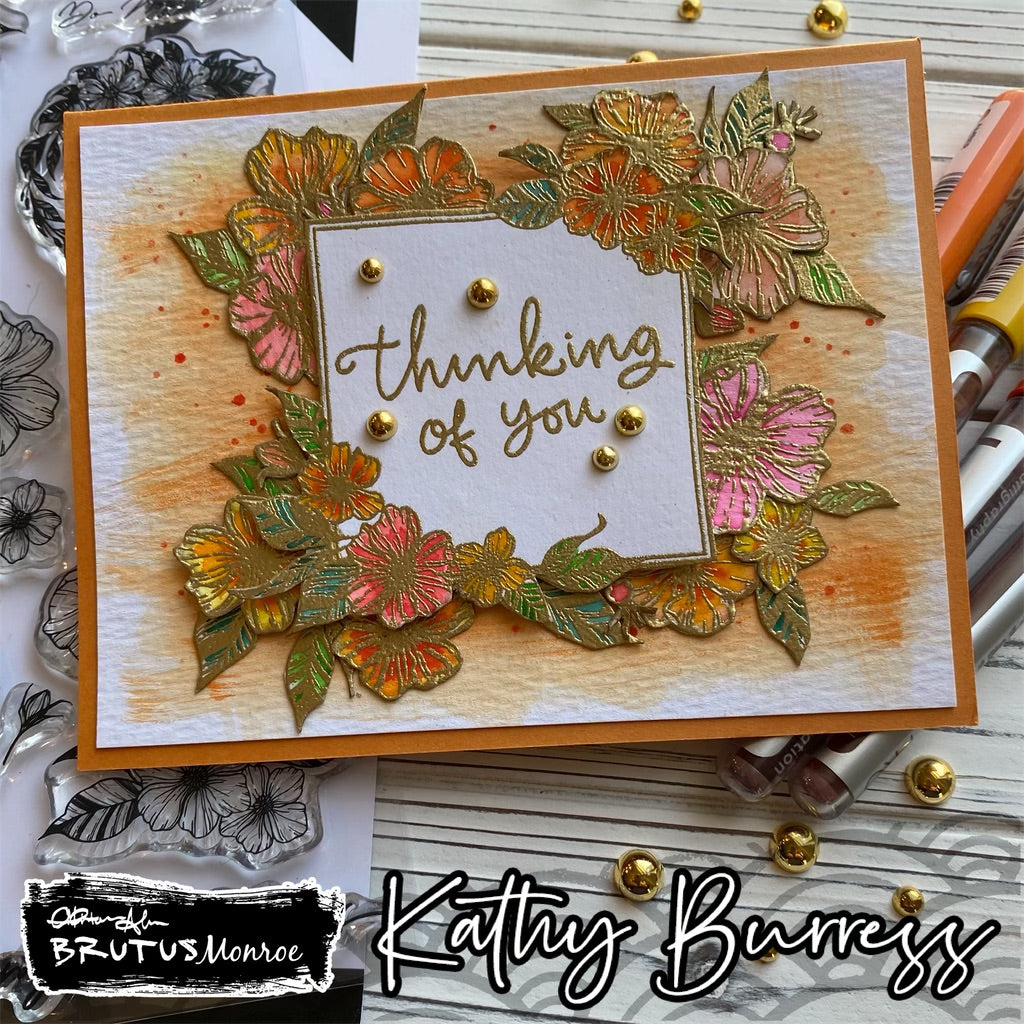
Thinking of You with Karin Brushmarkers
Hello friends! Kathy here today sharing some tips to get you started with Karin Brushmarkers. Although I am not a painter, I really love this technique for watercoloring. Using Gilded powder adds an extra touch to the image.
Here are some the supplies you will need to get started:
- Gilded Embossing Powder
- Embossing ink
- Anti-static pouch or tool
- Heat tool
- Watercolor paper
- Karin Brushmarkers
- Water brush or paint brush
- Clean water supply
Select a stamp or set that you want to work with. Flowers can be a good starter, since there really isn’t any right or wrong way to color them. I used one focal stamp and lots of extra flowers and leaves from the Floral Frames set. The sentiment is from the Extra Sentimental set.
Prep your paper using the anti-static pouch or tool, covering all areas. If your paper is textured on one side and smooth on the other, I would recommend the smooth side, you will have better embossing results.

Ink up your stamps with embossing ink and stamp the images on the watercolor paper.

If you will be die cutting your images be sure to leave room between the images. If you are fussy cutting, they can be placed closer together. You might want to stamp a few extra images, so you can play and experiment with color combinations.
After all your images have been stamped, apply embossing powder to the paper. Shake or tap off the excess. Use a heat tool to emboss/melt the powder.


Once all images have been prepped, you are ready to start painting!
Pick a variety of colors for your images. The primary colors I selected are Orange Red (051), Amber (195), Gold (283), and Pale Pink (220), with Olive Green (281), Grass (253), and Apple (210) for the leaves.

Using the water brush or a paint brush dampened with clean water, wet a small area to start.

Apply the tip of the Karin marker to a center point and let the color bloom. You will notice that the embossing helps to keep the color in each area, which is another advantage of using it… less chance for overflow.

If you want more intense color, add more of the marker directly to the paper. If you want a softer look, use the paint brush to move and spread the color. Allow the color to dry between layers so you don’t overwork the paper, which can breakdown if it gets too wet.

After the initial layer is dry, you can add accents at the center of flower or on the tips by picking up a color from the marker with your paint brush and adding it to your image. Or use the marker directly on the paper and the damp paint brush to move it around as needed.


TIP: If you end up with a puddle of color, use a paper towel to pick up the puddle and then go back and add more color without the extra water.

The background is created by putting some ink on a palette, spritzing with water and then painting it on a blank piece of watercolor paper. I then splattered the background with the same color ink. It is supposed to have a random look, so don’t overthink it.


You are ready to assemble…either fussy cut or die cut your images so they are all ready to go.

Fussy cutting tip: Use a marker that is similar in color to the embossing and edge all the cut pieces. This hides any cutting imperfections and finishes the cut edge.

Using foam tape to elevate the central image allows you to add the extra flowers around the outside of the frame.

Mount everything on card base and add a few embellishments.


Leave a comment