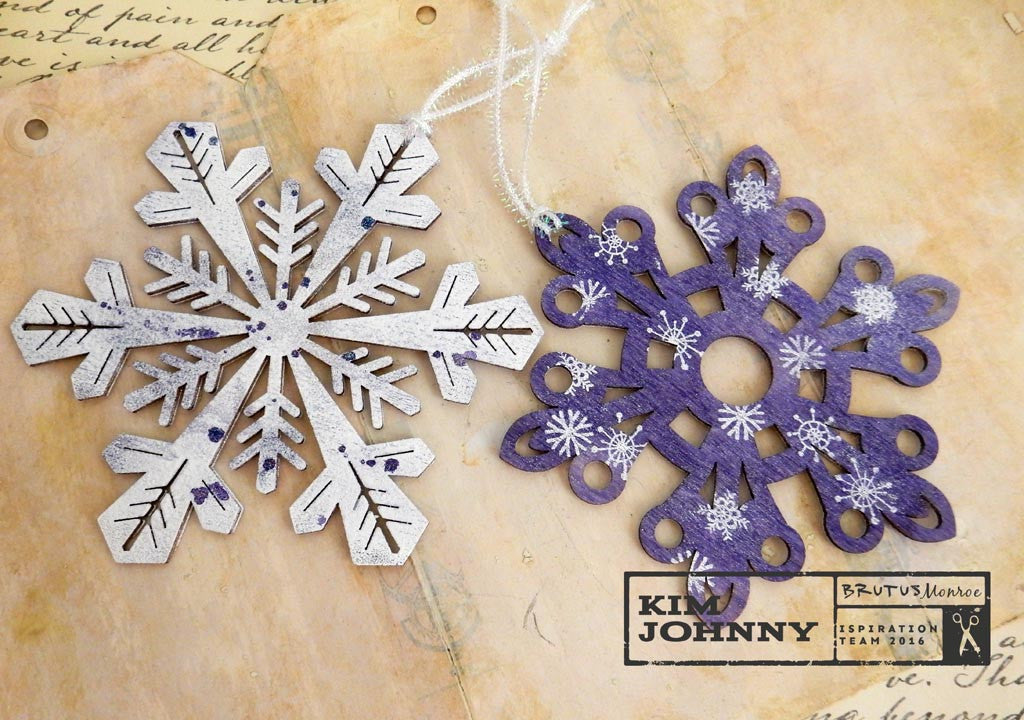
Snowflakes!
Hi!
Welcome back to another Tuesday with me, Kim!
I have a picture step by step on some quick and fun snowflakes to make. Hope you like it!
Step 1
I found these awesome thin wood snowflakes at my local Target store, in the temptation filled seasonal bins. You know there is stuff in those bins you really neeed!

Step 2
I sprayed the unfinished wood with my Brutus Monroe Aubergine Chalk Spray.

Step 3
Let the chalk spray dry or use your heat embossing tool. Next I used the Embossing Ink mini to ink up the face of the snowflake before I sprinkled some Alabaster embossing powder onto it. Heat/melt the powder.

Step 4
After the first layer of embossing powder, I re-inked the snowflake and this time added some sparkly powder,

Step 5
After heat/melting the previous layer, I added another layer mixing the Alabaster powder and sparkly one. I wanted a bit more coverage and texture. I heated and set it aside.

Step 6
I picked another snowflake and sprayed it the same color. Let dry or use heat tool.

Step 7
I stamped with embossing ink using the small stamps from the Holiday Sentiments stamp set. The powder is the same Alabaster. I love how the purple color does not come up through the embossing powder. Finished stamping randomly.

Final close up
I added some chalk spray splatters, too.

Finished snowflake pair.
Just finish with some ribbon for hanging or to use as package tags.

Thanks for staying with me to the end here!
Have a wonderful day!
~kim


Leave a comment