


Viking Valentine with Dragon Kisses Stamp Set and Aqua Pigment
Hey everyone!! Thank you for stopping by the Brutus Monroe Inspiration Team Blog today. I have a little valentine for you that I made with the Dragon Kiss Stamp Set, Aqua Pigments and alcohol markers.
Here are the photos. I made a step by step tutorial for you below them.


Step by Step Instructions
- Begin by taping down a piece of Aqua Pigment Cardstock to your workspace using Purple Tape.
- Sketch out a silhouette of a some houses with a pencil using a very light hand.
- Wet your cardstock above the line of houses with a wide watercolor brush. The Aqua Pigment paper should be wet enough to have a very thin layer of water standing on it.
- Use an Aqua Pigment brush with no water in it to pick up some Orange Aqua Pigments and drop them all over wet cardstock. Then do the same with Coral Aqua Pigments.
- Using a paper towel, blot up the color and water to leave a light layer of the Aqua Pigments on the paper.
- Dry your paper with a heat gun.
- Repeat steps 3-5 using Orange, Coral and Red Aqua Pigments until you have a deep gradient of color in layers from the horizon to the sky. This gives the effect of a burning pillaged village.
- From the top of the houses down to the bottom of the card, repeat the process using Black and then Blue Aqua Pigments. The Blue will be more visible toward the bottom of the panel.
- Peel up your tape and trim down your panel to 3.75 x 5 inches.
- Stamp the viking and dragon image onto some white cardstock using B|M Raven Detail Ink and heat set it with a heat gun.
- Color in your images with Stylefile Markers or another alcohol marker or colored pencils.
- Fussy cut the images with Fussy Cutting Scissors or a Scan N Cut.
- Pop up the viking and dragon on foam tape. I used two different thicknesses to bring the dragon image out further.
- Stamp the sentiment in B|M Clear Embossing Ink on some black cardstock and cover the it with Alabaster Embossing Powder.
- Melt the powder with a heat tool.
- Trim down the sentiment into two strips and pop them up on some foam tape.
- Glue the whole panel down to a cardbase with some B|M All-purpose Craft Glue and you have finished your card.
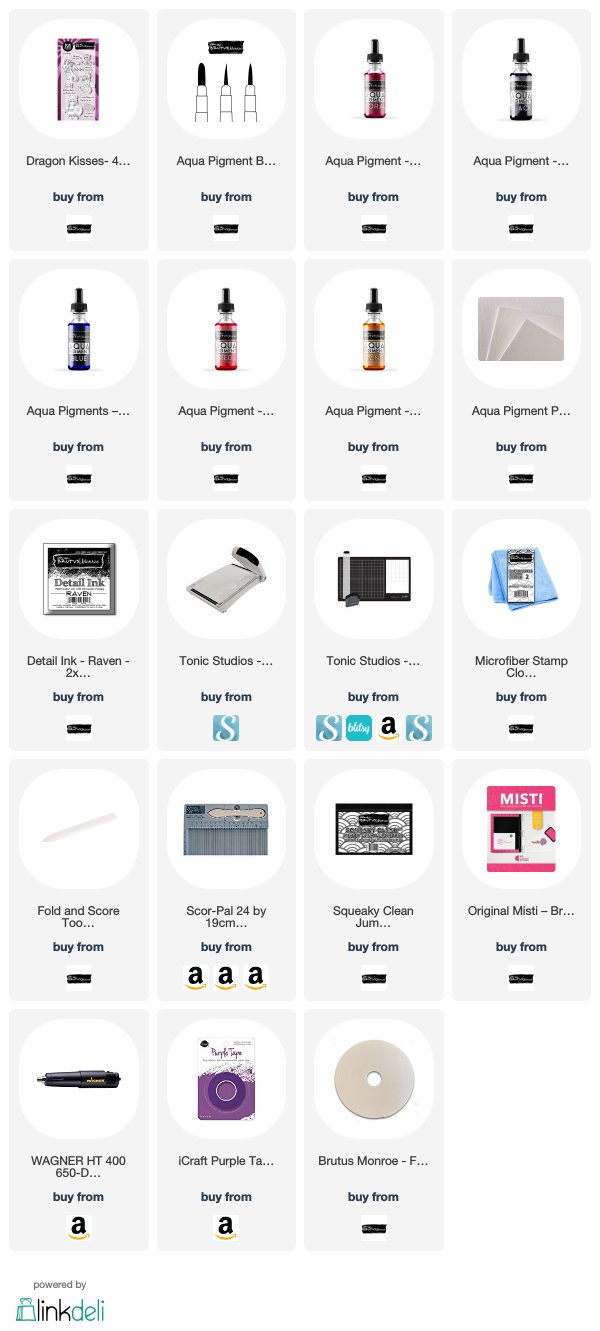
If you feel inspired to try out this technique, you will find a grid of supplies below. They include affiliate links. When you use them to make a purchase, I will receive a small percentage of your purchase at no additional cost to you.
What is your favorite image in this stamp set? Let me know in the comments below.
Leave a comment