


Dragon Kisses Card with Aqua Pigments
Hi there! Thank you for stopping by the blog today. Daniel here with a card I watercolored using B|M Aqua Pigments. I started out hoping to do some no line coloring on this card, but ended up stamping the image again and retracing it. If you watch the live video of the making of this card, you'll see the entire process. I have included step by step instructions below.


Step by Step Instructions
1. Cut a piece of turquoise cardstock down the middle and store it at 4.25 inches to form a card base.
2. Cut a piece of gray cardstock down to a 4 x 5.25 inches and set aside.
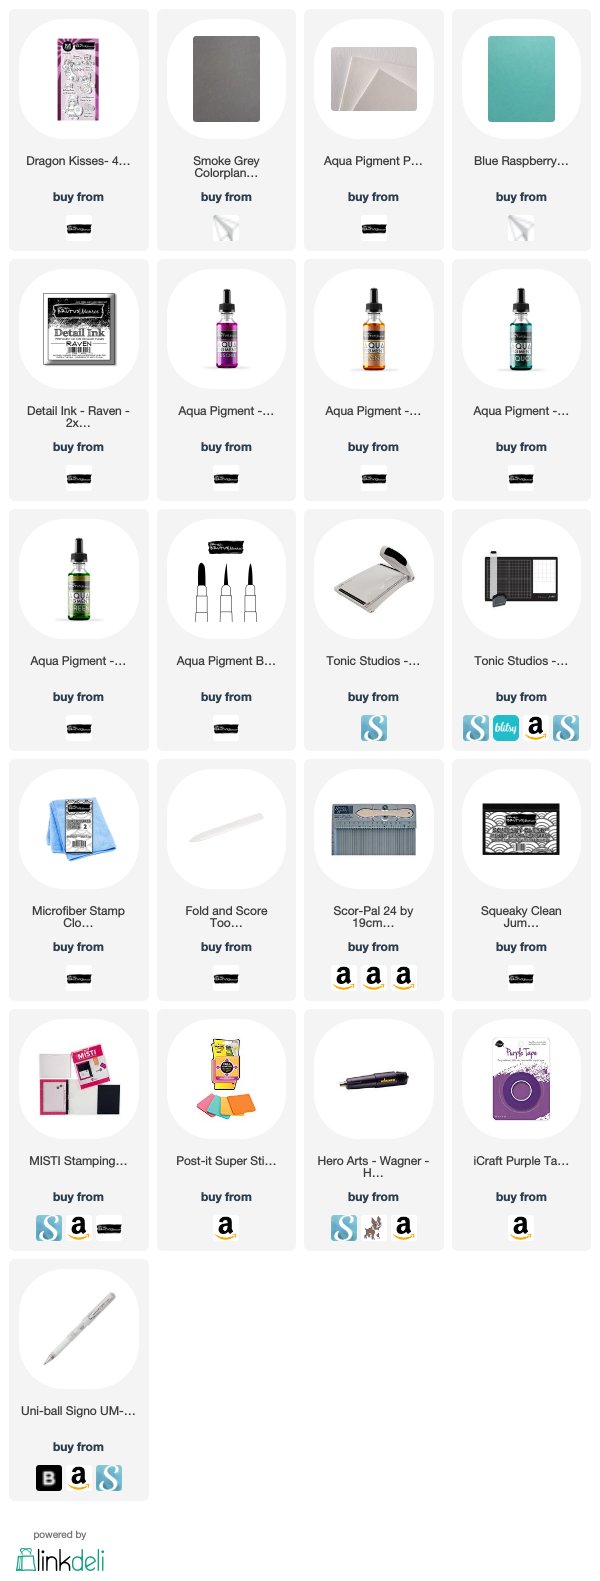
3. Tape a piece of Aqua Paper to your workspace and stamp the dragon image from the Dragon Kisses stamp set with Raven Detail Ink. (I used a very light dye ink but only because I wanted a no line watercolor look in the beginning).
4. Using your Aqua water brush pens, color in the image with Turquoise, Green, Blue Green and Fuchsia Aqua Pigments, drying with a heat tool between colors.
5. Color the outer part of the iris of the dragon's eyes with Orange Aqua Pigments.
6. Color in the teeth with a white gel pen. Add a white reflection spot in each eye with the same gel pen.
7. Stamp the dragon image on some regular copy paper and fussy cut it out on the right side with fussy cutting scissors.
8. Place the mask over the dragon and stamp the eggs image to the right of the painted dragon using Raven Detail Ink. Set with a heat gun.
9. Color in the eggs with metallic Aqua Pigments. I used Frosted Cranberry and Iced Holly and mixed with Fuchsia and Turquoise Aqua Pigments.
10. Retrace the entire drawing with a black Copic Multiliner Pen and ground the image with some squiggly lines around the bottom of dragon and eggs.
11. Add shading with a gray copic marker around the bottom sides of the image and add some details with a shimmer gel pen.
12. Stamp the sentiment in the bottom left hand corner with Raven Ink.
13. Trim the Aqua Paper down to 3.75 x 5 inches and adhere it to the gray cardstock with B|M All Purpose Glue.
14. Add some Rhinestones around the bottom of the dragon and egg to finish off the card.
I appreciate your spending time with me on yesterday's live video and today's blog post. If you are inspired to purchase any of these products, I have a grid of them below. These include affiliate links. By purchasing through these links, I will receive a portion of the sale at no additional cost to you.
Leave a comment