Check your Rewards Here!

December Guest Designer, Crystal O. Minkler!
Hello! My name is Crystal O. Minkler and I am beyond excited to be guest designing for Brutus Monroe! A little about me... I've been stamping and paper crafting for over 20 years now. All thanks to my mother-in-law inviting me to a workshop one day. I've been hooked ever since!! I’ve recently delved into mixed media and have really worked on my coloring skills the last couple of years with Copic markers and watercoloring. I hope to share some fun creations with you this month!
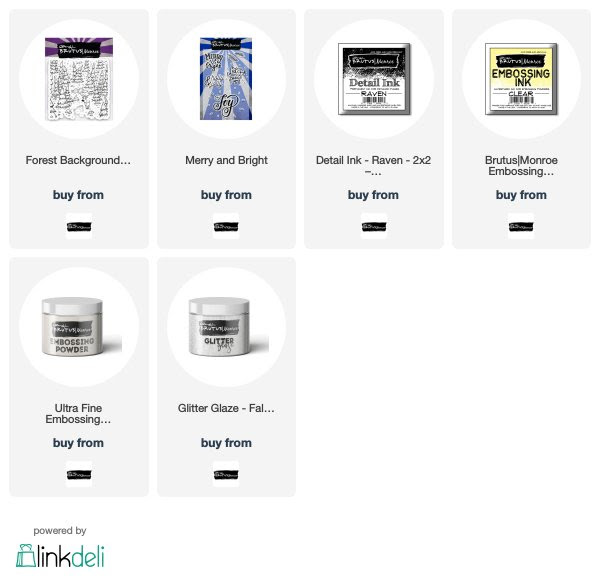
Today, I have a card I created using the adorable Forest Background stamp. I stamped the background using Raven Detail Ink and then colored in the images with the following Copic markers ~ E21, E23, E25, E34, E35, N0, N2, N5, E55, E57, E59, W5, G24, G29, G46, YG17. I knew that I wasn't going to use the entire background so I didn't color the whole thing. In fact, I just realized I missed a tiny bit of tree there in the bottom right corner. Ooops! Haha... well, sometimes that happens. I also added some 'snow' to the background using a snow marker and then heat set it to make it puffy. I then die cut the circle piece I wanted for my focal image and then die cut the stitched rectangle piece. I didn't want to exclude that sweet little bunny so I fussy cut him out and adhered him by the deer adding a bit of snow around him, as well. I then set those pieces aside to work on my back layer.
I just had to try out the Fallen Snow Glitter Glaze and I wanted to see what it would look like on a dark card stock so I chose a piece of dark blue card stock from my stash along with a snowy stencil. I was pleasantly surprised at the texture of the glaze... it was so easy to work over the stencil with the spatula filling in all the snowy bits. I love it! I love the effect of the glittery 'snow' on the dark background, too! The perfect base layer for the design I had in mind.
Once the glaze dried, I trimmed the snowy background and mat it on a piece of grey card stock. I mat the rest of my layers using the same grey card stock and then adhered all of my layers onto a white card base, popping up the focal image in the circle using foam tape. When I adhered that last focal piece I was careful to line up the images with the rectangle background.... it's a great way to give dimension to a card when using just a background stamp.
To finish off the design and tie the whole theme of the card together I chose the 'Let it Snow' sentiment from the Merry and Bright set. I didn't want to cover the background I had colored so I chose to stamp the sentiment on vellum card stock. I stamped it using Brutus Monroe Embossing Ink and then I heat embossed Ultra Fine Alabaster Embossing Powder... OMG! I absolutely love this embossing powder! You can see in the picture above how well it melted... so beautiful! I die cut the sentiment with a circle die and then I adhered it just on the right side where it overlaps the scene in the circle. I didn't want to use foam tape behind the other side since it would be visible through the vellum and it would cover the background so I just left it to kind of float there.
Here's another look at the finished card. I love how it turned out! I hope I've inspired you to pull out those background stamps and have fun with some layers!
Thanks so much for stopping by!
See ya next time.
Inky Hugs!
~ Crystal
{Supplies}
Affiliate links are used:


Comments
Leave a comment