


Brutus Monroe February 2019 Stencil and Stamp Club Card
Happy Saturday to everyone! I'm so happy you have stopped by the B|M Blog today. Every month Brutus Monroe sends out a mini stamp set and a stencil in two separate subscriptions. Easter will arrive in no time and to celebrate this season, both clubs this month celebrate traditional Easter offerings: chocolate and marshmallow bunnies in the Stamp Club and a gorgeous stencil in the shape of an egg!
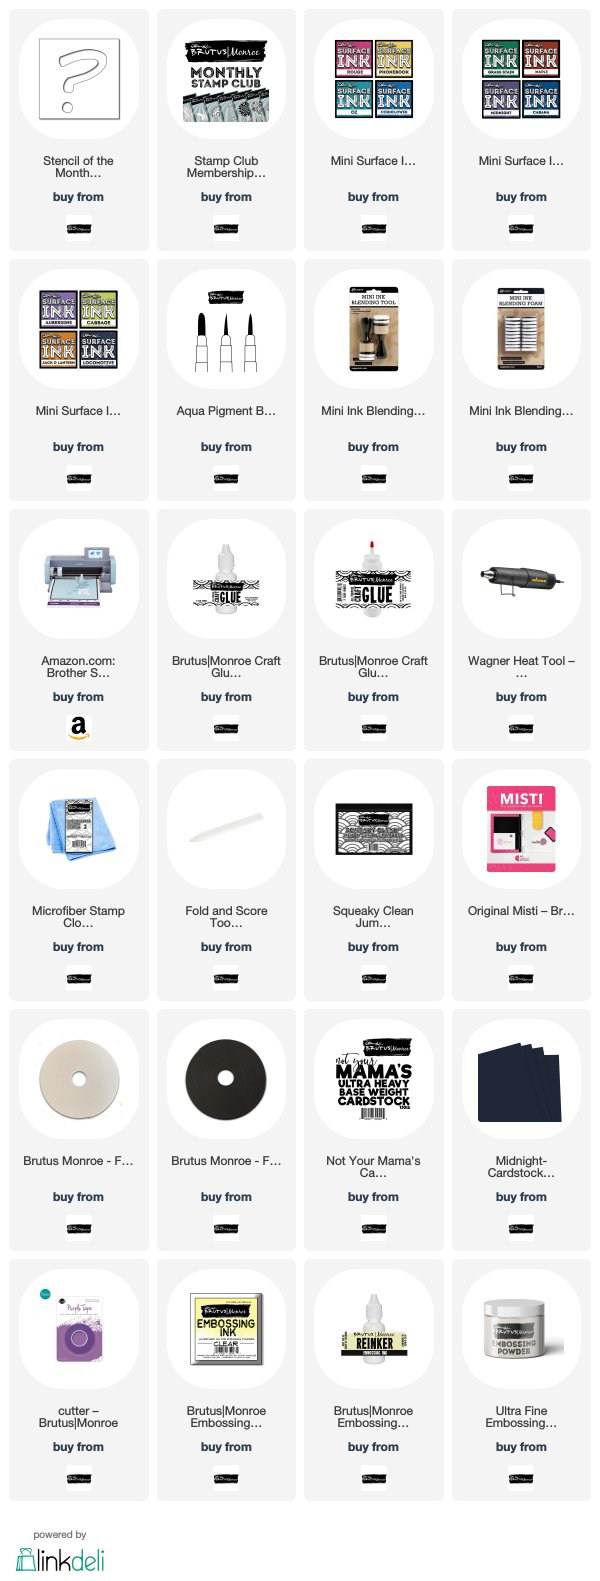
For this card, you will need:
- February B|M Stamp Club stamps
- February B|M Stencil Club stencil
- Surface Inks (I used Plum, Cornflower and Grass Stain)
- Alabaster Embossing Powder
- Aqua Brush Pens
- White cardstock
- Black cardstock
- Blending tools
- Purple Tape
- Flat-backed embellishments
- Foam tape
- Heat tool
- Fussy Cutting Scissors
- Craft Clue
- Corner Chomper
Step-by-step Instructions
- Make a card base with your white cardstock that measures 4.75 x 6.5 inches. I found this size better suited the stencil size for this month. Round the corners with a corner chomper.
- Tape down the stencil over the card base with purple tape and carefully apply ink with your blending tool, alternating the colors from Plum to Cornflower to Grass Stain. (If you don't have Plum, you can get pretty close with Rouge and Aubergine together.)
- Stamp the chocolate bunny image from the Stamp Club set onto some white cardstock using Plum Surface Ink.
- Using an Aqua Brush Pen and the same Surface inks, color in the bunny. Start laying down the color on the right and move to the left for a nice shading effect each time you pick up ink.
- Fussy cut the bunny our and set him aside.
- Trim down a piece of black cardstock to 3.75 x 1.375”, and stamp the sentiment in a staggered fashion to the right of the strip with B|M Clear Embossing Ink. Then melt some Alabaster Embossing Powder over it with the heat tool.
- Pop it up on the front of your card with some foam tape about a third of the way up the front.
- Adhere the bunny onto the front of the black strip.
- Embellish some of the dots in the stenciled design using flat backed embellishments. I used rhinestones.
Here are the close ups!


I hope you enjoyed my card today. If this has you inspired to purchase any of these supplies, please look below for a grid with links and images for your convenience.
Comments
Leave a comment