


Hello!
I am having so much fun with the whimsical Fairy Garden Inspiration Box. The kits are jammed packed with so much product that I can't create just one card...so I have 5 for you today!
Card 1-
For this card I wanted to use the adorable Fairy Garden wooden mushroom buttons that were included in the kit. I created the background by inking up a piece of kraft cardstock included in the kit that was printed with white flowers. I used Rock Candy, Rouge, and Aubergine and Jack O Lantern Surface Inks.

To give the background texture I covered the entire stamped background with embossing ink using a direct pad to paper technique. Next, I covered the entire panel with the new Fairy Dust embossing powder. This embossing powder creates a beautiful glitter like sheen to the panel.

I attached the Fairy Garden wooden mushroom buttons with small colored brads from the Doodlebug Mini Brad Multi-Pack. They were the perfect size to fit in the holes on the mushrooms. To finish off the card I added Fairy Garden green organza ribbon to the left side of the panel and heat embossed Hello sentiment from the Sharon's Script stamp set using Alabaster embossing powder on black cardstock. To complete the card I added Multi Color Gems that were in the kit.


Card 2-
I used the Fairy Garden stamp set and masked off a scene using Brutus Monroe masking paper along withRaven Detail Ink. in my Misti Stamping tool. The stamp set has TONS of small stamps to create an adorable fairy garden scene. Once the scene was created I used copic markers to color. The colors are listed in the video if you are interested. My favorite part of the scene is the clouds. The clouds are drawn in a unique way that makes them stand out. I decided not to add a sentiment to the front of the card, but rather keep the fairy garden as the full focal point.

The final step was to adhere the panel to the card base. I wanted the panel to have a boarder, to achieve this look I added a piece of Saphire glitterstock with Brutus Monroe craft glue. I love the glitterstock so much I think I could find a way to use it in every card!

Card 3-
The monthly inspiration boxes always come jam packed with amazing products, but they also offer several additional add ons every month. For card number three I used the Fairy Garden paper pack along with the two mushroom dies that were included in the kit. The dies were two sizes. I used the larger of the two as my focal point and the smaller mushroom I cut out multiple times to place scattered around the rest of the panel. I used two different designs of paper from the Fairy Garden paper pack to cut the mushrooms.

Next, I arranged the dies cuts where I wanted them on a piece of green cardstock included in the kit and glued them down with craft glue. For the sentiment I cut a piece of Midnight cardstock into a strip and heat embossed "Just a note..."from Sharon's Script stamp set using the embossing powder of the month August embossing power Emerald City. When it reflects light you get a gold tone to it over the green. Holy Cow is this gorgeous!!!
For the final step because I can't stop using it, I added a piece of Lilac glitterstock as the boarder for my panel and adhered it to my card base. That completes card number three!

Card 4-
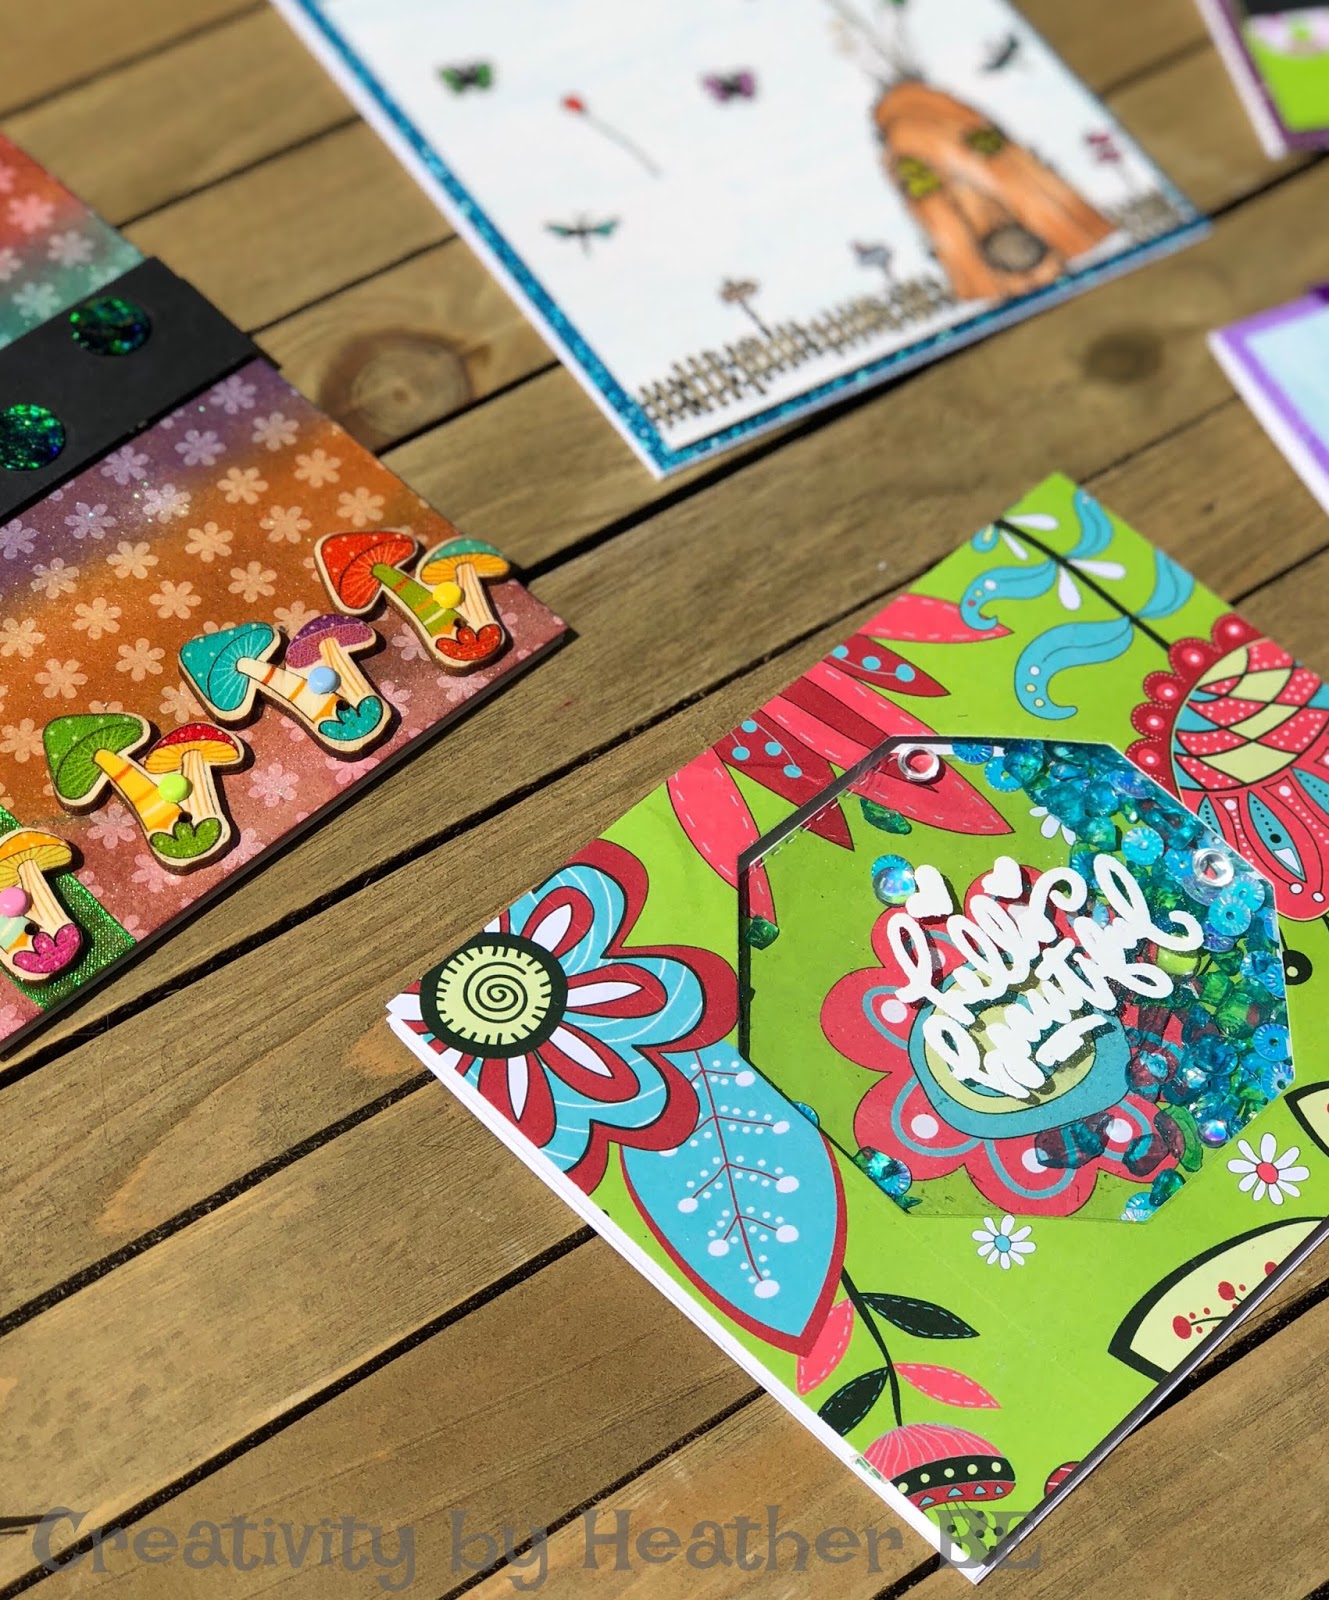
One of the things I love the most about the inspiration boxes is the artwork that is included on the cover and on the inserts for the stamps and add ons such as stencils. This month was beautiful flowers in bright bold colors and I knew I HAD to use that as a background!

I had not created a shaker card in awhile so I decided this background would be part of a shaker card. To start I used the Brutus Monroe Foundation die set: Stitched Hexagon. I used the largest die to cut the hexagon in the center of the card. I saved the cut out piece because I wanted to place it back in as my background.

Finally, I used adhered my white card panel with the hexagon cut out to the front panel and attached it to my card base. I encourage you to look at all of the pieces of your kit, including the packaging to find inspiration!

Card 5-
Mystery Card......
Card 5 was by far my favorite and will remain a mystery until Wednesday's blog hop! There will be step by step directions along with a video tutorial included.
I hope I was able to inspire you to get out your inspiration kit and create. The Fairy Garden Inspiration box is sold out, however you can always get most of the contents individually on the website. I have attached the links below. Have fun and create your own ending!
Have a great day!!
-Heather
Leave a comment