
Brutus Bucks Program
Check your Rewards Here!
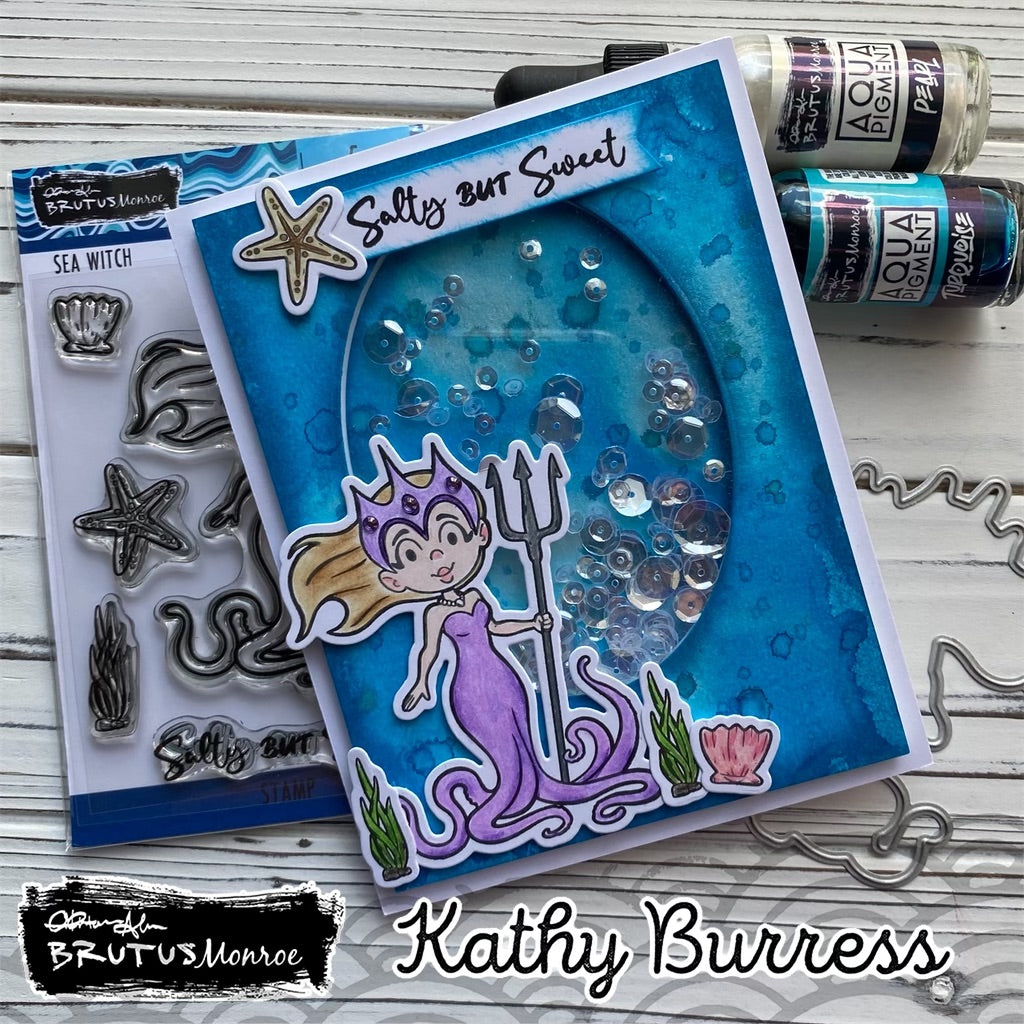
Salty and Sweet Shaker Card
Hello friends! Kathy here today with an underwater shaker card using the Sea Witch 3x4 stamp set, coordinating dies and Aqua Pigments.
Here are the supplies you will need to get started:
To start, adhere the watercolor panel to hard, portable surface (like a clipboard) with painter’s tape. (This helps to keep the paper from curling as it is drying.) Mist with a light spray of water. 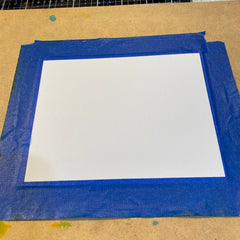 Place several drops of the blue Aqua Pigment on the paper, spraying with additional water to move the color.
 Add several drops of Pearl Aqua Pigment. Tip the surface around to spread the color on the page.
  If you have some white areas, add more color and water to fill the panel.
 Allow the panel to dry before removing from the surface.
Using a paint brush splatter drops of blue on the dry background. Repeat until you are satisfied with the background.
 Apply blue ink with a blending brush or sponge to the outside edges of the background to fill in any white areas.
 Position the oval die on the panel, more towards the top, and secure with low tack tape. Run the panel through your die cutting machine.
  If desired, ink the edges of the oval like the panel edges.
 Center the watercolor panel on the card base and secure with low tack tape.
  Adhere the oval to the card base with liquid adhesive. Remove the outside background panel.
 Cut a piece of acetate larger than the oval opening on the background panel and add double sided tape to all edges.
 Adhere the acetate to the back side of the watercolor piece.
 Place double sided foam tape around the oval and on the outside edges of the panel. Leaving the paper in place for now.
 Place clear sequins in the middle of the oval. Remove the paper from the foam tape around the oval. Carefully place the background on the card base position around the oval and pressing in place.
 Gently lift each of the outside edges and remove the paper on the tape and press into place. Set aside.
Stamp all images and the sentiment with Raven Detail ink. 
 Color with your preferred medium. (I used colored pencils.)
 Die cut all images.
  Position on the card front and adhere with foam tape or liquid adhesive.
I love creating watercolor backgrounds using this technique, everyone is unique! I hope you will give it a try.
| Item | Price | Qty | Total | |
|---|---|---|---|---|
| Subtotal |
$ 0.00 |
|||
| Shipping | ||||
| Total | ||||
Leave a comment