
Brutus Bucks Program
Check your Rewards Here!

Hi there! Daniel here with a quick and eye-catching design using just the Super Sentimental Stamp Set, some embossing powder and some ink!
I have a ton of stamp sets at my disposal, so sometimes to spark a creative idea, i limit myself to one stamp set. Today, I chose a stamp set that NEVER leaves my craft desk. I have to have it handy and if you check my last blog posts here and on my blog, you will see it appear over and over. The Super Sentimental Stamp Set contains beautiful, whimsical and fun sentiments for lots of occasions. Today, I used two thirds of the stamps in the set to create a CONGRATULATIONS card.
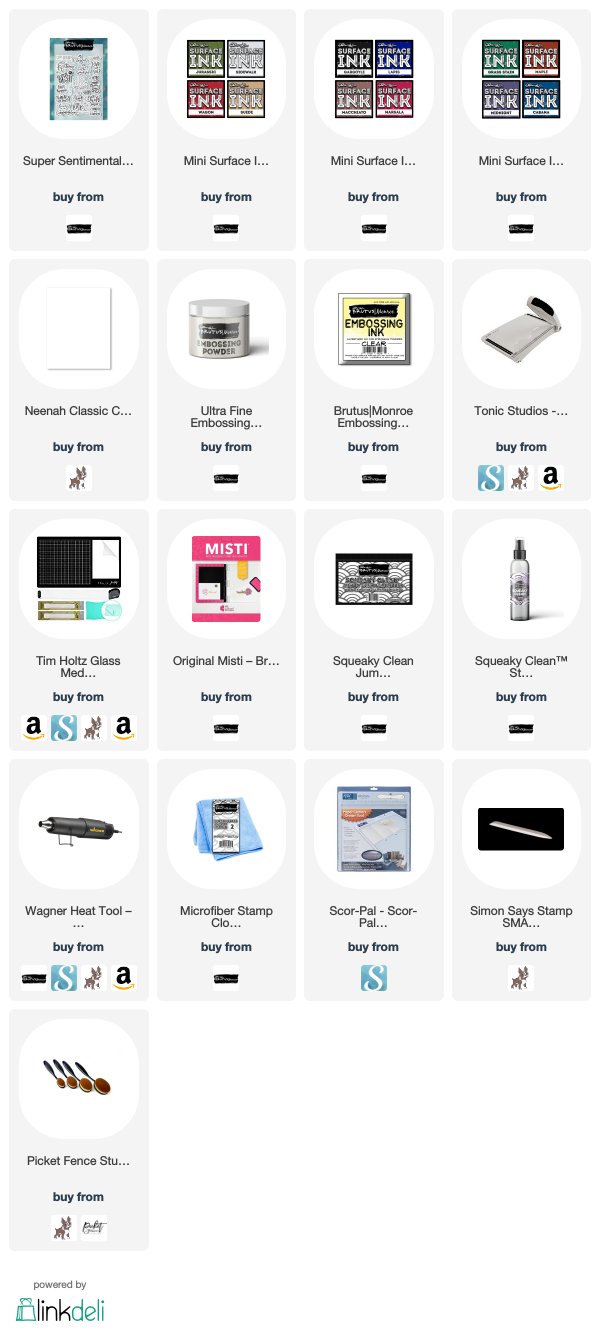
Here's what you'll need:
To begin, I cut an A2-sized panel down to 4 x 5.25" and prepped it with antistatic powder. Then I put the panel in my MISTI stamping tool, adhering it to some scrap cardstock with a temporary adhesive and a good inch away from the edges. Then I placed the sentiment stamps around the front of the panel and off the edges. I lowered my MISTI door over them to pick them up and inked up the stamps with Clear Embossing Ink. I stamped the panel four times with the embossing ink to make sure I had a good impression and a good amount of embossing ink.
Then, I covered the panel with Alabaster Embossing Powder, shook off the excess and heated it with my heat gun until it was melted and smooth.

I took my Life-Changing Blender Brushes from Picket Fence and picked up some green ink I had laid out on my glass craft mat. I liberally applied it to the middle of the panel over the white embossing. Then I followed up the green with blue and brown on both sides of the green. You can pick your own favorite combos of Surface inks for this. They come in collections of four inks that already combine well together.

After wiping off the excess ink from the embossed images with a microfiber cloth, I popped up the panel on some foam tape and adhered it to the front of an A2-sized card base.

I hope you enjoyed this simple and effective design using just one stamp set and the emboss resist technique. You will find a grid of supplies below. I thank you for using the Inspiration Team members' affiliate links when you make a purchase.
Thanks again for joining me today! Remember to create your own ending!
| Item | Price | Qty | Total | |
|---|---|---|---|---|
| Subtotal |
$ 0.00 |
|||
| Shipping | ||||
| Total | ||||
Leave a comment