Check your Rewards Here!
Shadow Stamping (3 Ways)
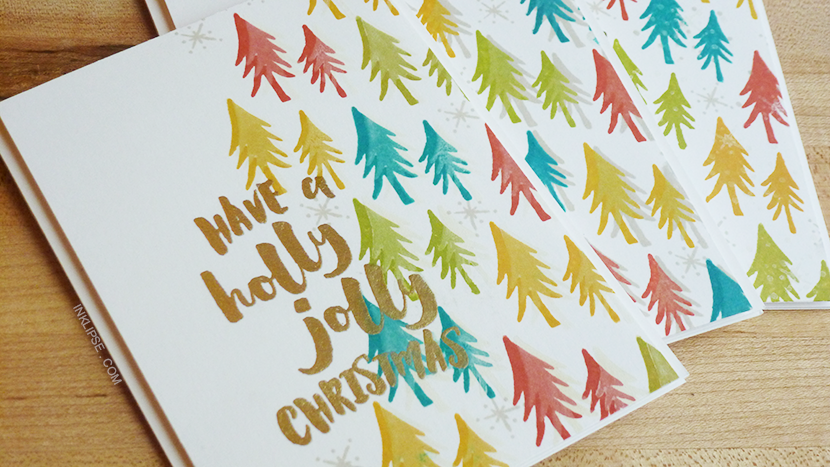
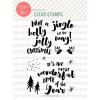
Hi all! When I am stamping I love to create textures using different inks and techniques. I have compiled three different ways that I create stamped shadows on my projects into today's video. I will be using the Holly Jolly stamp set by Ellen Hutson with all of the small detailed images.

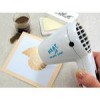
Using the Gilded embossing powder to emboss all of the sentiments "have a holly jolly Christmas" on the cards. I then used the tree stamp and Brutus|Monroe inks to stamp symmetrical patterns on the right side of the card panels.

1 - Stamping with white pigment ink.
Adding the shadows with white pigment ink will slightly mask off part of the tree image and on the white card stock it will not be visible. So, if you would like just a slight shadow on the side of your trees using the white ink is the best option.
2 - Stamping with light grey dye ink.
Adding shadows with grey dye ink will add a slight grey tint over a portion of the trees and add a grey shadow on the white area. So, if you would like a slight grey tree shadow on the white part of your card stock using the grey ink is the best option.
3 - Stamping with white and grey ink and different stamps
Adding shadows with both inks and different stamps will add a fun texture over your stamped images in both colors. So, if you like the mix of both inks and many different textures on your card using different stamps is the best option.
For some added detail I used a snowflake stamp and grey ink and stamped some of the snowflakes to fill in the gaps between trees. After all of the stamping is complete, I added all of the panels onto white top folding card bases using foam tape to add some dimension.
Enjoy the video!




Comments
Leave a comment